Fitting click PVC flooring yourself: preparation and product instructions
See what to prepare before fitting click PVC flooring. The product manual determines the installation method, underlay and finish; discuss any doubts about your subfloor with a professional.
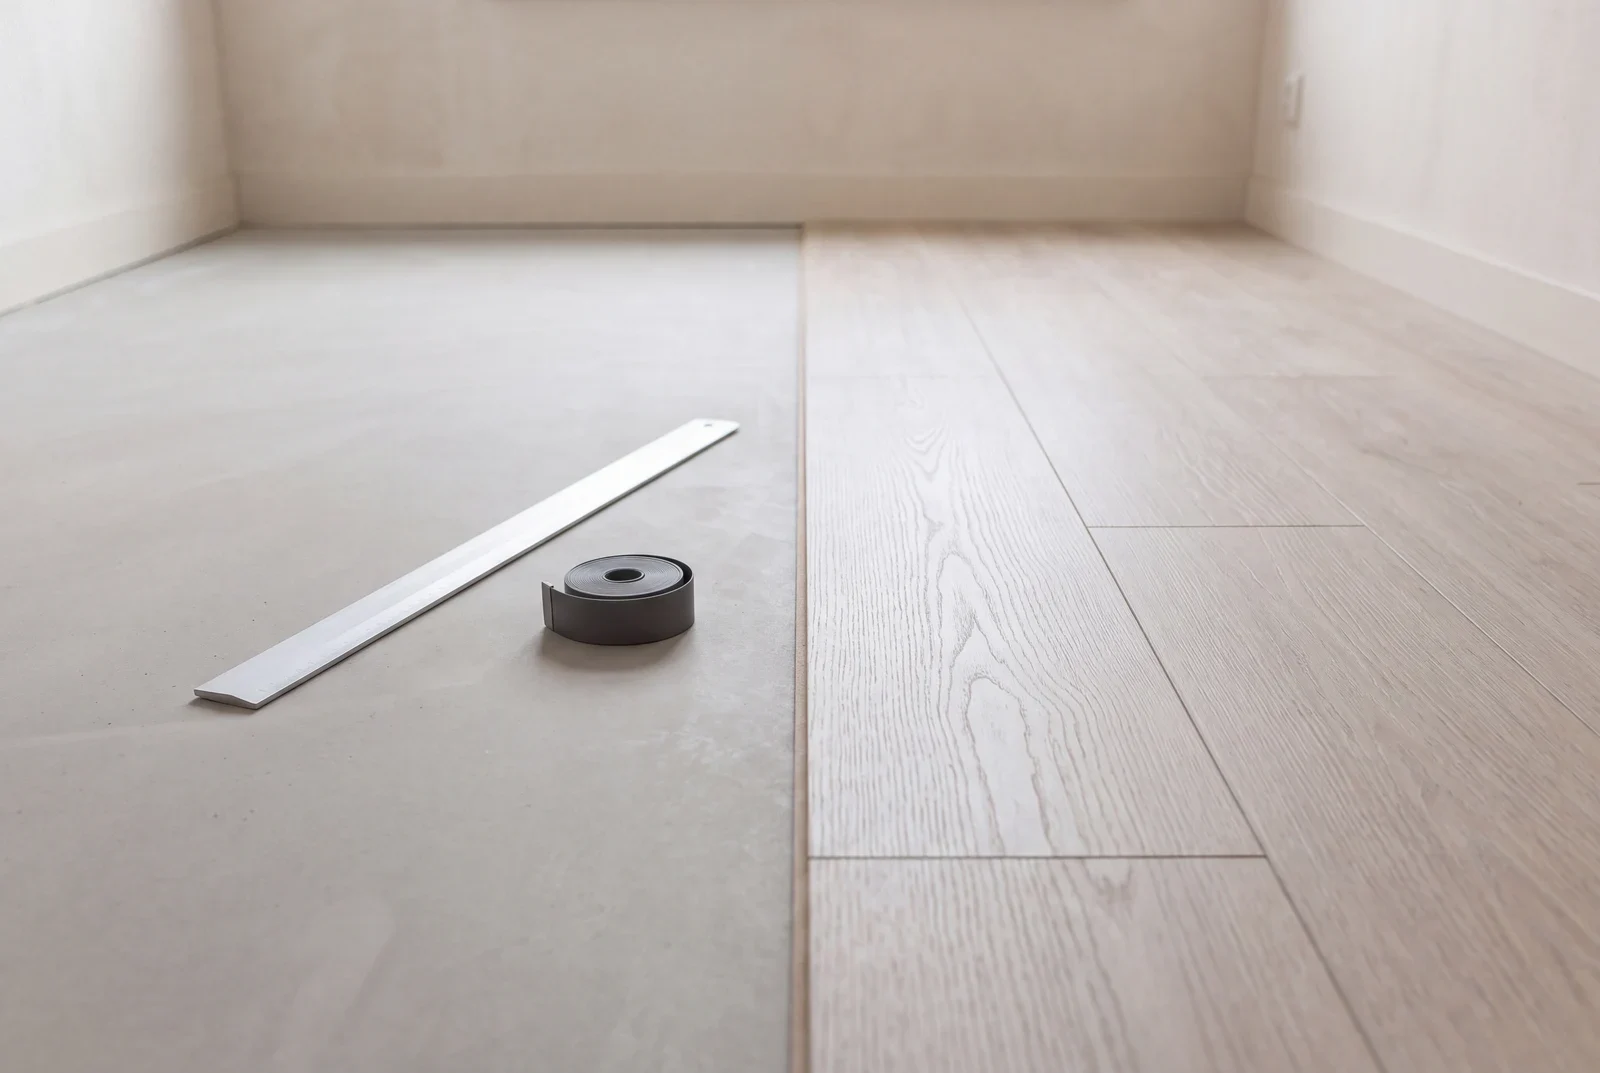
Fitting click PVC flooring yourself starts with a suitable subfloor, the right execution and the product manual. This overview helps you review the preparation. It is not a product-specific installation instruction. Have a professional take a look if you cannot assess the condition of the subfloor or the required execution.
Table of Contents
1. Preparation & planning
Good preparation is half the job. Before you start fitting the floor, it is important to plan and prepare a few key steps carefully. This prevents surprises during the work and ensures a better end result.
Measuring up
Measure the room accurately and calculate the required amount of material. Always allow for the extra amount recommended by the supplier for cutting waste and spare planks.
Timing
Plan the preparation, any drying time and acclimatisation in accordance with the instructions for the chosen product. The time needed varies per room.
Indoor climate
Keep the temperature and humidity within the limits specified by the flooring and adhesive manufacturer, both during and after installation.
Laying pattern
Decide on the laying direction: parallel to the light for a calmer look, or perpendicular to the light to make the room appear larger.
2. Required tools & materials
Complete tool list
Essential tools
- Utility knife or PVC cutter
- Metal straightedge (min. 1 metre)
- Tape measure and pencil
- Rubber mallet
- Pull bar for the final row
- Tapping block (for click PVC flooring)
- Saw for thresholds
- Waterpas
Additional materials
- Underlay (if required)
- Uitzettingsprofielen
- Skirting boards and corner pieces
- Threshold strips for transitions
- Egalisatiemassa
- Stofzuiger
- Schoonmaakmiddelen
- Beschermhandschoenen
💡 Pro Tip: Hire professional tools from a DIY store if you only need them once. This is often cheaper than buying and guarantees you have quality equipment.
3. Preparing the subfloor
The subfloor is the foundation of your new floor. Proper preparation prevents issues such as creaking floors, cracks in the planks, or an uneven surface. Take your time with this - it is the most important step!
Key subfloor requirements
- Level: Follow the flatness requirements for the chosen floor
- Dry: Have the residual moisture assessed according to the requirements of the flooring and adhesive manufacturer
- Clean: Free from dust, grease or loose parts
- Firm: No moving or creaking parts
Removing old flooring
Remove carpet, loose tiles or damaged flooring. With firmly fixed tiles or sound laminate, you can sometimes lay over the top, provided the subfloor is flat.
Repairing unevenness
Fill holes and cracks with repair compound. For larger irregularities, use levelling compound to make the floor flat. Allow it to dry according to the product instructions.
Thorough cleaning
Vacuum the subfloor thoroughly several times. Remove all dust, grit and dirt. A clean subfloor is essential for good adhesion and prevents creaking sounds.
Carrying out a moisture test
If in doubt, have a professional assess the residual moisture and the subfloor. The measuring method and limit values depend on the screed and the chosen flooring and adhesive. Only use a damp-proof membrane as part of a suitable, specified system.
4. Acclimatising materials
Why acclimatisation matters
Follow the manufacturer's instructions for acclimatisation, storage and temperature. The required time varies by product and site conditions. Check this before you begin.
Lay the packs flat in the room where you will be installing the floor. Follow the manufacturer's stacking instructions and ensure good air circulation. Do not open the packs before installation unless the manufacturer advises otherwise.
5. Step-by-Step: Fitting a PVC floor
Determining the starting point
Start along the longest, straightest wall. Measure the width of the room and calculate whether the final row will be wider than the prescribed minimum width. If not, cut the first row narrower so that the first and last rows are roughly the same width.
💡 Pro Tip: Check the starting side and edge profile in the manual for your click system. Only cut or modify the joint as specified by the manufacturer.
Laying the first row
Place spacers of the prescribed size between the planks and the wall to create the expansion gap. Lay the first row completely, including the last plank. Use a pull bar to ease the final plank into place.
- Make sure the first row is dead straight - this sets the alignment for the rest of the floor
- Check using a straightedge or spirit level
- Leave the spacers in place until the floor is completely laid
Laying the subsequent rows
Start each new row with the offcut from the previous row (provided it is longer than the prescribed minimum length). This creates a natural, staggered pattern and saves material. Click the planks together lengthwise first, then widthwise.
- • Follow the prescribed angle and click sequence
- • Press down gently until it clicks into place
- • Only use the recommended tools
- • Hit the plank directly with a hammer
- • Use excessive force when clicking planks together
- • Leave the stagger between plank joints too short
Finishing the final row
Measure the width of the final row at several points. Adhere to the minimum row width and use the tools specified in the product manual. Adjust the first row before you begin if necessary.
Making cut-outs
Make precise cut-outs for pipes, radiators and door frames. Measure twice, cut once! Use a jigsaw or hole saw for circular cut-outs. Remember to leave the prescribed expansion gap here as well.
6. Finishing touches & fitting skirting boards
The finishing touches complete your floor. Skirting boards conceal the expansion gap and create a neat transition to the wall. Threshold strips provide a clean transition to adjoining rooms.
Fitting skirting boards
- Remove the spacers at the stage specified in the product manual
- Fix skirting boards to the wall, never to the floor
- Use clips or adhesive according to the instructions
- Mitre corners at 45° for neat joints
Thresholds & transitions
- Use a transition profile where there are height differences
- Fit threshold strips in doorways
- Leave the prescribed expansion gap
- Secure with screws or adhesive
7. Avoiding common mistakes
Not Acclimatising
Poor Subfloor
No Expansion Gap
Wrong Laying Direction
Staggering Too Short
Forcing Click Joints
8. Maintenance & aftercare tips
Immediately after fitting
Before first use
- • Check when the floor can bear weight
- • Follow the recommended finishing steps
- • Ventilate the room well
- • Keep the temperature constant
Once in use
- • Walk on the floor with care
- • Follow the guidelines for furniture and heavy loads
- • Clean according to the product instructions
- • Fit skirting boards to match your chosen floor build-up
Daily maintenance
- Vacuum or sweep regularly to remove grit and dirt
- Mop with a slightly damp cloth and a PVC-safe cleaner
- Wipe away stains immediately with a soft cloth
- Fit felt pads under furniture legs
- Place doormats at exterior doors to trap grit and sand
💡 Read more: See our complete maintenance guide for detailed tips and advice.
Frequently asked questions
Can I fit a PVC floor myself without experience?
Fitting click PVC flooring yourself can be an option if the product is suitable for this and you can carry out the required preparation and installation method. Read the product manual first. If in doubt, have the subfloor and installation assessed by a professional. This guide does not replace the installation instructions.
How much time does it take to fit a PVC floor yourself?
The time required depends on your subfloor, the preparation, the chosen product and any drying time. Create a schedule based on the product manual and have the subfloor assessed first if you are in doubt.
What tools do I need to fit a PVC floor?
Essential tools are: utility knife or PVC cutter, metal ruler, tape measure, pencil, rubber mallet, pull bar, tapping block, saw for door thresholds, vacuum cleaner, and possibly a contour gauge. For glue-down PVC flooring you will also need a notched trowel, adhesive roller and adhesive. Invest in quality tools for the best result and easier work.
Do I need to use an underlay with a PVC floor?
The manufacturer determines which underlay belongs with the chosen click PVC flooring. If the plank has an integrated backing, only add an extra layer if the manufacturer explicitly permits this. An underlay does not replace levelling the subfloor. Glue-down PVC flooring requires a suitably prepared subfloor and adhesive in accordance with the product instructions.
How do I prepare the subfloor for a PVC floor?
Good preparation is crucial. The subfloor must be clean, dry, flat and firm. Remove old floor coverings, fill cracks and holes with levelling compound, and sand down any unevenness until smooth. Check with a spirit level whether the floor is flat (in accordance with the flatness requirements of the chosen floor). Vacuum thoroughly and ensure the subfloor is completely dry before you start fitting.
What are the most common mistakes when fitting a PVC floor?
Common mistakes are: not acclimatising the material (allow to acclimatise according to the instructions for the chosen product), poor preparation of the subfloor, not leaving an expansion gap along the walls (according to the product instructions), choosing the wrong laying direction, working too quickly so planks do not click together properly, and not taking patterns into account with herringbone or tile-effect. Take your time and follow the instructions carefully.
Can I fit a PVC floor over an existing floor?
Yes, in many cases you can fit PVC over an existing floor, provided it is flat, clean and firm. PVC can be fitted over tiles, concrete, old PVC, and sometimes even over laminate. Carpet must always be removed. Check that the existing floor has no moisture or mould problems. If in doubt, it is better to remove the old floor for the best result.
When should I choose professional installation?
Consider professional installation for: large areas (>50m²), complex rooms with many corners and alcoves, underfloor heating, damp rooms such as bathrooms, when you are short on time, or if you doubt your skills. Professionals work faster, have the right tools, and often provide a warranty on the work. For standard rooms DIY is quite achievable, but if in doubt, professional help is worth the investment.
Prefer to have it fitted professionally?
Short on time or rather not do it yourself? Our experienced specialists fit your PVC floor quickly and expertly. Including a 15-year warranty!
Related articles

Choosing a PVC Floor: Complete Guide
Everything you need to know about choosing the right PVC floor for your home.
PVC Floor Maintenance Tips
Practical tips for maintaining your PVC floor and extending its lifespan.
PVC Floor Price Overview
How much does a PVC floor cost? Complete price overview including materials and fitting.